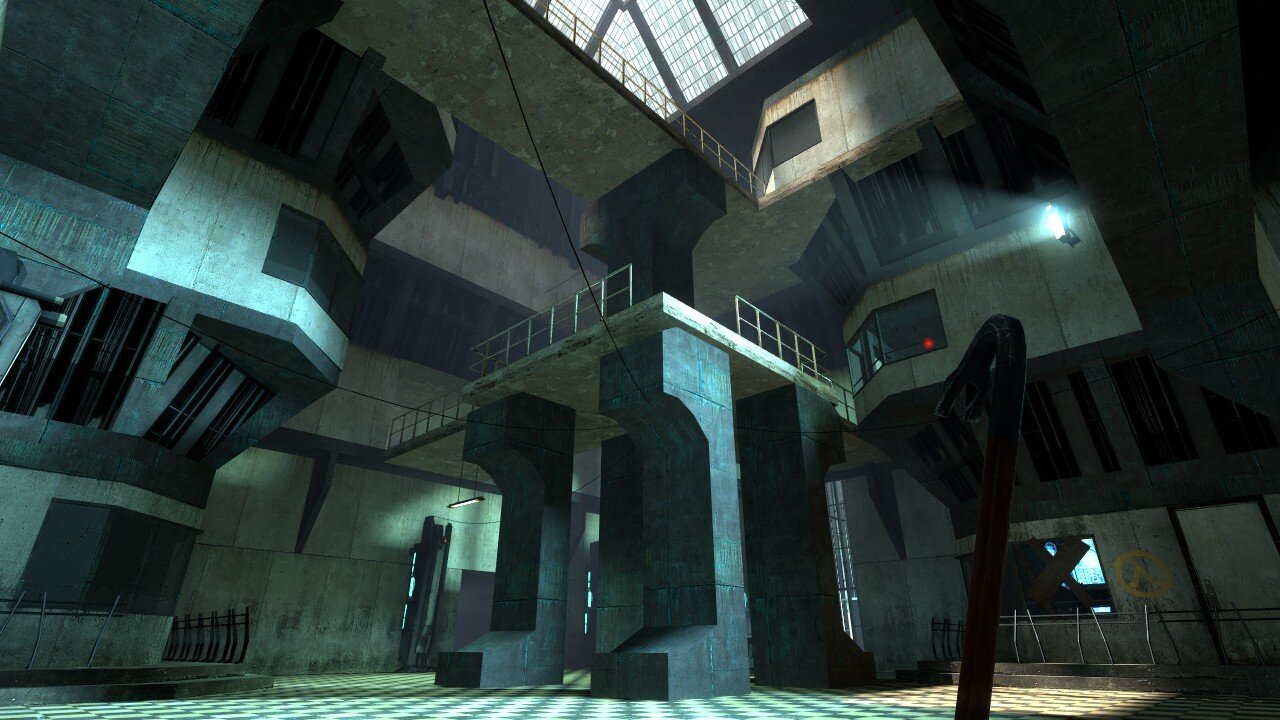
Project Snapshot
Avon is a reimaging of the Nova Prospekt levels in Half-Life 2 to demonstrate the best practices for controlling tension through staged combat
Engine: Hammer (Source)
Base Game: Half-Life 2
Please note this project is ongoing. Please check back for updates.
High Concept
This thesis discusses best practices and methodologies to effectively control tension and create engaging encounter design by using staged combat. The key experience within the level is the changes in combat encounters to attempt to raise or lower tension and create engaging gameplay.
Goals
By understanding the player’s primary path through the level, what skills they have available to them at the time, and what enemies we have available to us, we can use staged combat to design encounters to create a more engaging experience for the player.
By controlling when and how challenges are presented to the player, we can give the player a combat experience that varies in tension.
We can introduce challenging combats that the player finds manageable and moments of rest to avoid fatiguing the player.
This design approach will provide a combat experience that is enjoyable for a wider range of players.
Techniques
Distance
Introduce enemies at different elevations
Control how far away the enemy is from the player
Does the player's path affect the player’s distance from the enemy?
Time
Introduce enemies as the player navigates the space
Where will the player be when this encounter happens?
What skills/mechanical understanding does the player have at that specific point in the level?
Space
Reintroduce enemies into old spaces for new combat encounters
Destructible environments can be leveraged to change the space dynamically.
Player Path Prediction
What skills/weapons has the player mastered?
What enemies has the player encountered?
Encounters & Maps
The level contains a wide range of encounters some staged and some not, below are some of the most important spaces and breakdowns of the combats within those spaces.
Breakdown 1 - Combat 2

Combat 2 Breakdown Diagram
Non-staged combat from A to B to lower the tension
Distance - Combine APC at C player exit at D
Space - Direct sightline to D
This combat is a combination of non-staged and staged combat. The player enters the space from point A, the two enemies at B are already in the space - this is a non staged combat. When the player reaches halfway through the space, the door at point C opens and two more enemies rush into the player and a vehicle starts shooting at them. The player should find the first combat easier than the second combat in this space. This is a use of staged combat to raise the player’s tension.
The player exits through a hole in the wall at point D which gives them time to cool down in an empty space in the next location.
Breakdown 2 - Combat 4 & 5

Combat 4 & 5 Breakdown Diagram
Player Path - two separate paths
Height above player
Time - Longer time in combat means higher tension
This area is the second outpost. The player enters at point A and then has two choices here. They can either go to the left to B1 or B2. B1 provides a shorter route to the exit but then they are pinched by combines that appear ahead of them, and more that appear from b5 through staging. If they choose to go through the right-hand side the player has the chance to fight the outpost enemies. A drop ship then introduces in enemies at point B4 which is a higher elevation. They can then proceed through a small cliffside to B5 where they get the drop on a couple of enemies that are waiting there. The player encounters enemies on both paths that are introduced after the player is already in space.
Breakdown 3 - Combat 6

Combat 6 Breakdown Diagram

Level 1 Finale Arena
Space - Reusing the space via wave combat
Height and Distance - gunship enemy
Time - Longer Combat
The finale of the 1st level - This involves reusing the space via a wave encounter with a final boss that is a gunship that the player has to defeat. This means that a couple of smaller encounters happen in this one area.
As the player enters the space there is non-staged combat with two combines at C. These combats are intentionally not staged to provide a type of cooldown encounter for the player before the big finale fight. There are lots of resources and the player finds the RPG in this same area. After the player defeats the combine at C wave combat starts with enemies coming from B.
As the player fights the final wave of combine coming in from point B a gunship comes to point D that the player must defeat. The gunship is an enemy that is naturally stronger than the player and at a higher elevation to raise the tension of the encounter. The rocket launcher the player finds at the outpost C is the key to defeating the gunship, this is me leveraging the player's path to give the player a clue of how they can play around the gunship, and what to expect later on in the fight. The RPG is primarily a gun for defeating the gunships and so as a result them seeing it there sets up the expectation of fighting one later.
Finally, the gate at E opens and the player can progress to the final level.
Breakdown 4 - Combat 7

Combat 7 PT1 Breakdown Diagram
Space - Reusing the space for two different encounters
Height and Distance - Enemies are at a higher elevation
The next couple of combats including this one go over reusing space through staged combat they also take place in the second level (the interior of a prison).
The player enters to point A on the bottom floor. When they are halfway into the room enemies are introduced from the top balcony. They are easily defeated and the player then knows to progress to where the enemies came from.

Combat 7 PT2 Breakdown Diagram
In the second half of this combat the player is at point A where the enemies in the first encounter were. They are attacked by enemies that come in from the same place they entered and reuse the same space for entirely different combat.
Breakdown 5 - Combat 9

Combat 9 Breakdown Diagram
Space - Reusing the space via wave combat
Height and Distance - Enemies spawn from below and above player
Time - Longer Combat means higher tension
The elevator combat is the finale of the second level and utilizes the room for 3 different combats. When the player enters the room a gate opens and 3 enemies rush at the player. The player defeats these enemies and then gets in the elevator and rises to the next floor. Each floor enemies are introduced from different elevations, sometimes above and sometimes below, to create very tense and tough combat. When they reach the top floor they exit the elevator and continue to exit the level.
Breakdown 6 - Lobby

Level 2 Lobby Breakdown Diagram
Space - Reusing the space as a keystone to different encounters in the level.
Throughout every combat in the second level, the player returns to this same room and encounters different combat each time they re-enter. This is a good example of staged combat allowing space to be re-used.
Feedback & Results
The level contains a wide range of encounters some staged and some not, below are some of the most important spaces and breakdowns of the combats within those spaces.
Projected vs Actual Tension Curve
Player Difficulty vs Engagement
FPS vs Non-FPS Engagement and Difficulty
The following graphs are engagement and difficulty ratings from players that play FPS games often and those who don’t.
Non-FPS Players
FPS Players
Presentation
The following materials were delivered to the SMU Guildhall thesis committee for review as of May 2021.